Which Turkey Cooking Method is the Best?
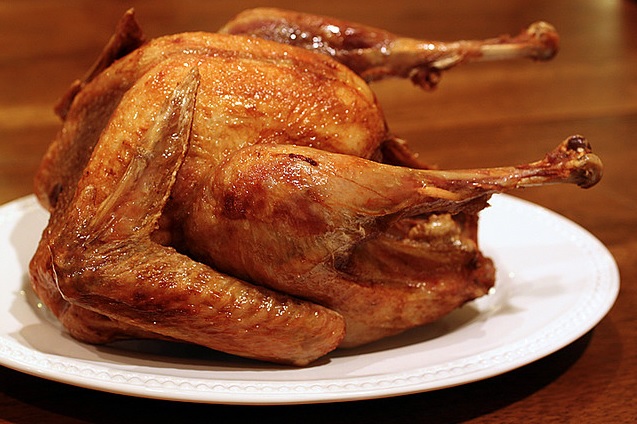
There are two main methods of preparing a turkey for Thanksgiving that the majority of Americans use. These methods are roasting or frying. Both methods result in succulent, juicy turkey to celebrate our national day of thanksgiving.
In my family, roasting a turkey is the norm. I never learned about frying a turkey until I was an adult, and overheard one of my customers describing their frying method. This page explains both cooking methods. Ultimately, your taste buds will have to decide which one is better.
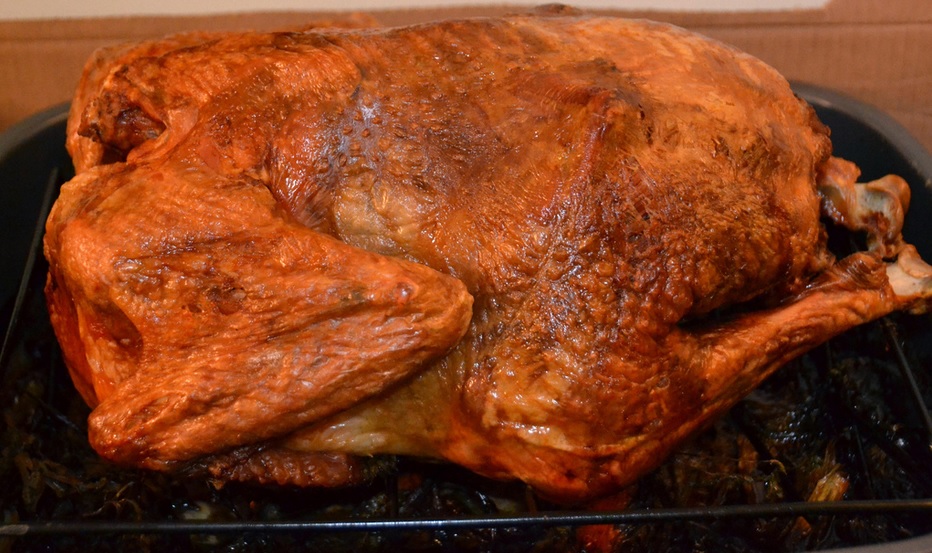
Roasting a Turkey
Roasting a turkey is slightly less messy than frying. This method is used more in the northern part of the United States where frying is not part of the cultural heritage as much as it is in the South.
Whether you are roasting a whole turkey, turkey breast, or cut-up pieces of a turkey, the method is essentially the same. The hardest part is determining when the turkey is done without overcooking it.
There are only two things that you need to roast a turkey besides the turkey itself.
- a roasting pan
- a meat thermometer
My Favorite Roaster
Granite Ware 0509-2 18-Inch Covered Oval Roaster
This is my favorite type of turkey roaster. I have used a roaster like this for over 20 years. I used it to roast turkey, chicken and beef. For holidays, when I buy a larger turkey than this pan can hold, I buy a foil roasting pan from the grocery store and cover it with tin foil.
I get very flavorful results from this pan and highly recommend it. I own two, a very small one and a larger one. The small one is used for cooking pieces instead of a whole breast or turkey.
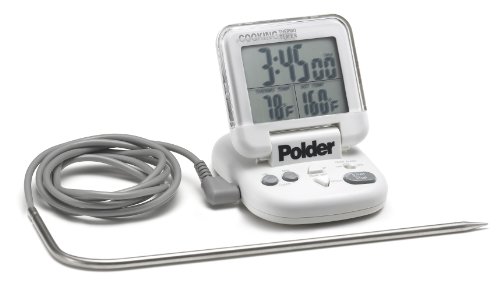
Digital Meat Thermometer
Polder Original Cooking All-In-One Timer/Thermometer
This is the style meat thermometer I like to use. You stick the probe into the thickest part of the turkey breast and then the digital screen sticks magnetically to your oven top. You can monitor the interior temperature of the roasting turkey from outside of the oven, so that you don’t have to keep opening up the door and altering the interior temperature of the oven.
The thermometer comes with a guide as to the temperatures needed to fully cook different types of meat. However, this is a guide only, use your own judgement as to when your turkey is done. Altitude affects doneness as well as preference.
Steps for Roasting the Turkey
- Take your turkey out of the package from the butcher or grocery store. If your turkey is frozen, it may take two to three days to defrost in your refrigerator. Allow time for it to fully defrost.
- Remove giblets from the center of the turkey.
- Clean your turkey thoroughly with cool water. Do not use hot water as it will cook the turkey.
- Pull out any feathers that remain in the turkey skin.
- Place the cleaned turkey into the bottom of the roasting pan.
- Spray the skin with oil spray or brush with oil. I use olive oil, but you can use any oil that you prefer. This keeps in the moisture of the meat when roasting.
- Insert the meat thermometer probe into the thickest part of the turkey breast. Attach it to the electronic base and set the thermometer.
- Turn oven on to 450F degrees.
- With the top off of the pan, place the pan with turkey into the oven for 30 minutes. This will crisp up the skin and darken it.
- After 30 minutes, change the temperature to 350F to finish roasting the turkey. Remove when the thermometer denotes the fully cooked temperature.
- Turkey takes more time to cook as the size of the turkey goes up. Even the smallest breast takes about an hour or more to cook.
- When it is done, take the turkey out of the oven, remove the thermometer, and let sit for a few minutes. Then carve to your specifications, and eat.
Frying a Turkey
Frying a turkey is another American tradition for Thanksgiving. For many Americans, this is their favored way of cooking their turkey every year. It is a little more messy than roasting and therefore is often done outside or in the garage before bringing it indoors to carve and serve. Frying a turkey results in moist, delicious meat.
In order to deep fry a turkey, you need a few items:
- a turkey fryer, or deep fryer big enough to hold your turkey
- a food thermometer
- oil to fry in
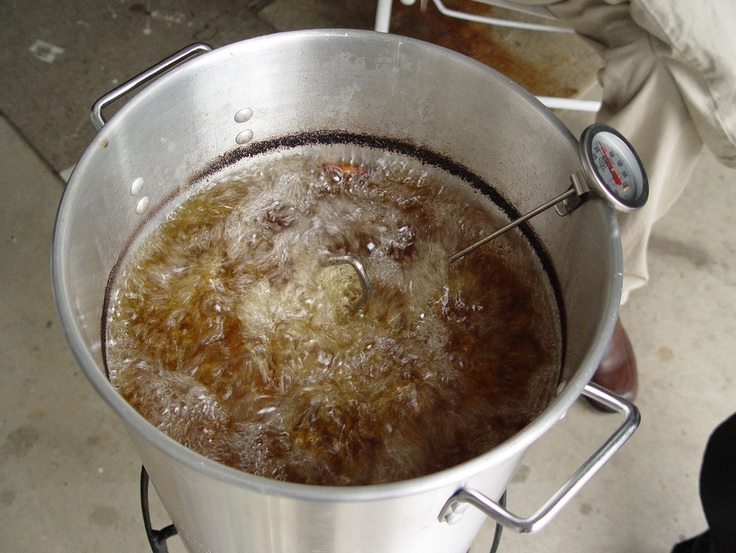
This thermometer will work well to test the heat of the oil when using a turkey fryer. You should wear gloves to cover your hands to prevent oil burns when you use it.
Steps for Frying the Turkey
- Take your turkey out of the package from the butcher or grocery store. If your turkey is frozen, it may take two to three days to defrost in your refrigerator. Allow time for it to fully defrost.
- Remove giblets from the center of the turkey.
- Clean your turkey thoroughly with cool water. Do not use hot water as it will cook the turkey.
- Pull out any feathers that remain in the turkey skin.
- Pat the turkey down to remove excess water.
- Set up fryer.
- Add oil to fryer. Make sure the level of oil is at least 5 inches below the top of the fryer. When the turkey is in the pot, there should be an inch of the pot that is empty at the top.
- Heat the oil to a temperature of 350F degrees.
- For safety, it is a good idea to wear gloves, an apron and safety goggle.
- Turn off the burner, then submerge the turkey into the hot oil.
- Turn the burner back on and begin frying the turkey.
- It takes approximately 3 to 4 minutes per pound to cook the turkey.
- Monitor the temperature of the oil with the thermometer during the time the turkey is cooking and adjust the temperature of the burner if necessary.
- When the turkey is close to being done, it will begin to float near the top of the oil. Once it starts to float, cook it for an additional 15 minutes.
- Remove the turkey from the oil and test the internal temperature at the thickest part of the meat. It should read at least 170F degrees to be fully cooked.
- Remove the turkey once done, and let cool for a few minutes before carving.
- Let the oil cool completely before disposing of it.
Using a Turkey Fryer
Inducing Flavor into Your Turkey
All the information that I have given you so far is just the basics for cooking a turkey. There are many ways to enhance the turkey’s flavor through seasoning, basting and marinating.
There is no end to flavors that can be added to turkey. These can be added before you cook or while you are cooking. Natural herbs, fruits, and alcohol make wonderful additions to turkey, that you can test by using them. You can also buy turkey flavoring packets from the butcher or grocery store.
Flavors can be rubbed on the turkey skin, placed between the skin and the meat and placed inside the turkey cavity. All of these methods will add flavor to your turkey. If you are roasting you can pour a liquid flavor over the turkey or place in the pan before roasting. This will add flavor to the meat as well. One of my favorites is to use an orange-flavored liqueur to flavor turkey.
Here is one of the most popular turkey flavoring kits. There are many more choices available that you can browse by clicking through the link here.
Tools for Working with Turkey
Basic tools for working with turkey can help make turkey easier to handle. These also make lovely Thanksgiving gifts if you are a guest at someone else’s home for Thanksgiving. The most used accessories are:
- turkey rack
- turkey baster
- turkey lifters
Turkey Baster with Cleaning Brush Complete Poultry Frying Rack Set
 Stainless Steel Turkey Lifter, Set of 2
Serving Turkey
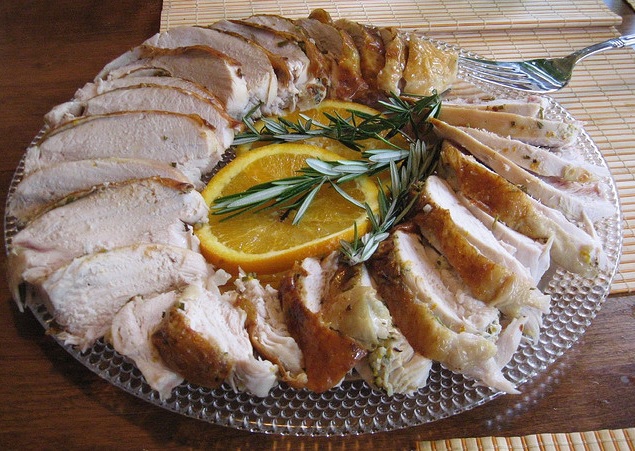
Once your turkey is done, you can serve it. It is a good idea to wait a few minutes before carving so the tender meat won’t fall apart.
++++++
This post is part of the Pinterest Party Thanksgiving Recipe Blog Hop. You can follow along with us by going to the posts listed below:
October 2015
18. Paula Atwell How to Cook a Turkey for Thanksgiving (that’s me!)
19. Kristen Carrasco Thanksgiving Hostess Gift Idea – Autumn Ribbon Pine Cone
20. Sylvia Mayfield Test Your Thanksgiving Food Safety Skill Now With This Quiz
21. Corrinna Johnson Apple Pie Ice Cream Topped With Caramel Sauce
22. Erlene Amat Pumpkin Shortbread
23. Katy Mitchell Thanksgiving Stuffing
24.Anjanette Young Easy Pumpkin Pie Recipe
25. Sylvia Mayfield http://easy-cake-decorating-ideas.com
26. Sherry Olives and Okra http://olives-n-okra.com/
27. Shirley Intelligent Domestications http://intelligentdomestications.com/
28.Dianne Kirby Loomos http://ahappysplashofcolor.com/
Images:
Flickr, CC, trpnblies, Flickr, CC, The Cooking Photographer, Flickr, CC, obie099, Flickr, CC, kimberlykv
