 Mother’s Day is a day to let mom know you love and appreciate her and everything she does. Nothing makes a mom happier than receiving a special handmade gift from her child. Whether it be a colorful tissue paper bouquet, a pretty colored picture, macaroni necklace, or whatever, a gift made by your own child always holds a special place in your heart all through the years. Here are some great Mother’s Day craft projects that kids can easily make for mom, as well as a step-by-step craft tutorial on how to make a special plaque from simple homemade clay.
******************************************************************
Homemade Clay Mother’s Day Plaque Tutorial by Christy McCarl
This craft project involves creating a soft, pliable non-toxic clay using simple household ingredients. There is cooking required for making the clay, so an adult will need to do this step, then turn the cooled clay over to the child to work their magic with.
STEP ONE: GATHER YOUR SUPPLIES
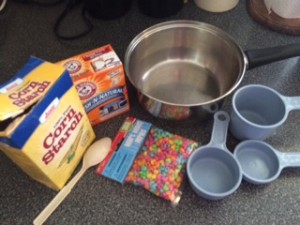
To begin, start with a medium sized saucepan, box of baking soda, box of cornstarch, water, plastic spoon, dollar store variety plastic beads in assorted colors. Optional items for later use include non-toxic craft paints, paintbrush, and black Sharpie marker (to use with adult supervision). You will also need a child or two (or more) for this project, since they will be making it.
STEP TWO: PREPARE THE CLAY
To make the clay, you will need a saucepan and wooden spoon. I used the white clay dough recipe found at The Imagination Tree . The recipe is as follows:
- 1 Cup Baking Soda
- 1/2 Cup Cornstarch
- 3/4 Cup warm water
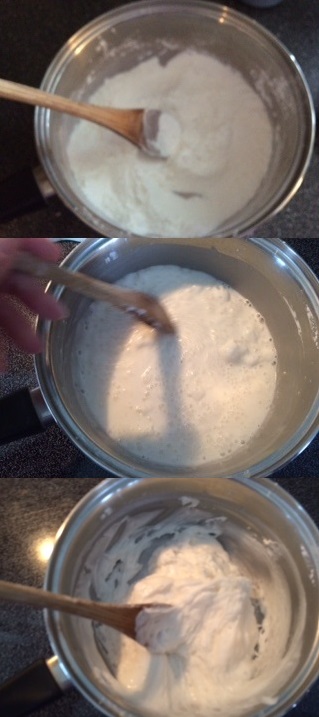
Place dry ingredients in saucepan and stir well. Then add the warm water and stir well. Place saucepan over medium heat and stir the entire time. After awhile, you will begin seeing bubbles as the mixture heats up. It will gradually continue to thicken until you’ll notice it pulling away from the surface of the pan as you stir. Continue stirring until mixture forms a large dough-like ball resembling mashed potatoes. Remove from heat. (Adult supervision required for using the stove and handling hot clay!)
STEP THREE: REMOVE CLAY DOUGH FROM PAN AND COOL
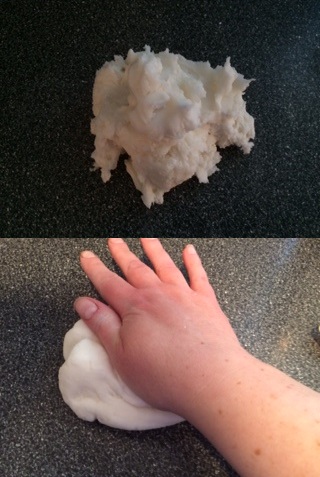
After gathering all the clay together into the clump that looks like mashed potatoes,carefully transfer hot dough over to a surface such as a clean countertop or baking sheet. Allow dough to cool enough to be handled, then knead the dough by hand several times to make it soft and pliable. After cooling down enough to handle, the kids can step in at this point.
STEP FOUR: ROLL OUT AND SHAPE CLAY
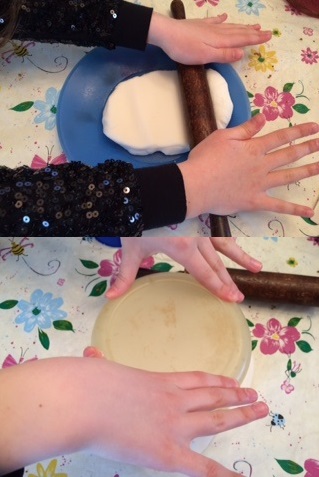
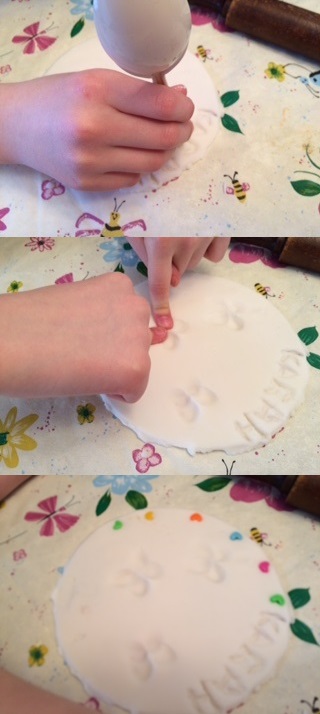
When the dough is ready to use, take a rolling pin and roll out onto a flat surface. Use a plastic food storage bowl or large cup to make a circular or square shape to cut out of the dough, making sure area is large enough for a small child’s hand or foot, or fingerprints of an older child. Press the food container down onto the dough like a cookie cutter and remove excess pieces. Use fingers to shape any rough edges around the rim and smooth it out.
STEP FIVE: MAKE WORDS OR DESIGNS IN DOUGH
When dough is shaped to the right size, now take the bottom of the plastic spoon and have the child carve their name into the dough. They can also make patterns and designs or whatever they choose to make. For a smaller child, making a handprint or footprint in the dough is a great option, along with the child’s name and the year. For the older child with larger hands, have them press into the clay with their fingers to make fingerprint butterflies in the clay.
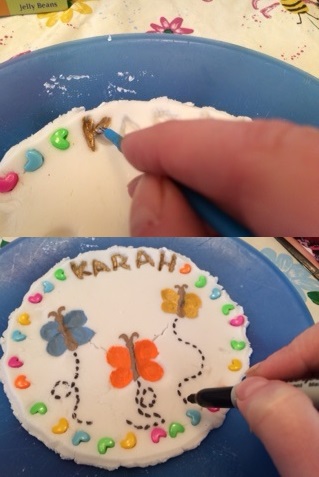
STEP SIX: DECORATE AND PAINT PROJECT
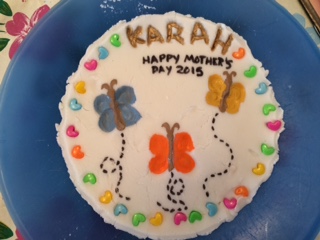
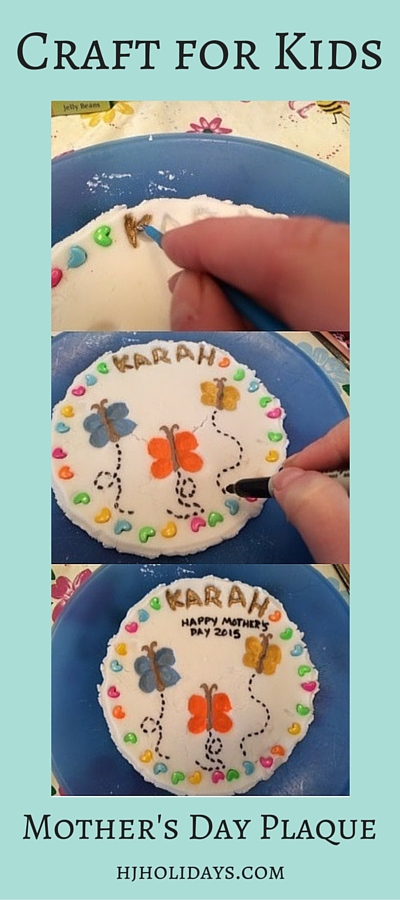
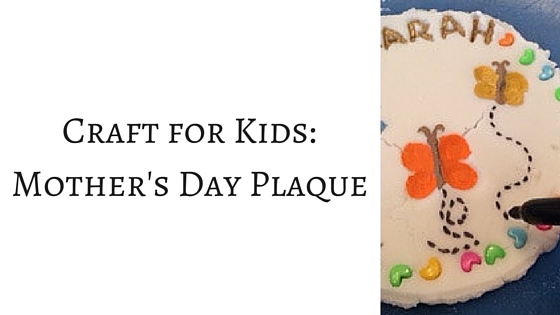
After the child’s name and hand print, fingerprints, or thumbprints are in the clay, along with their name, you can begin decorating and painting the piece. For this example, we placed heart shaped plastic beads found at Dollar Tree around the border, and made three butterflies with my daughter’s fingerprints. She painted the indented part with her name , and painted the butterflies with non-toxic craft paints. We traced a “flight pattern” and wrote a Mother’s Day message with a black Sharpie marker. The possibilities are endless, you could paint a handprint or footprint design all one color, you could decorate with everything from glitter to gemstones to rocks, it’s up to you.
STEP SEVEN: ALLOW TIME TO DRY
Place your project on a flat surface someplace safe and allow several days for drying time. It is advisable to start this project a week or two before Mother’s Day so that it is ready for gift giving. Mom will be delighted with this special gift from her child. Plaque can be displayed using a plate stand, or mount a hanger on the back and hang on the wall.
NOTE: Preferably have the other parent or another adult or teenager help the child with this Mother’s Day craft if they intend for it to be a surprise for mom.
****************************************************************************
Here are some other great Mother’s Day craft ideas from around the Internet.
Forget-Me-Not Tote Bags
These bags are great for taking to the beach or for using as reusable grocery bags. Mom will love this great tote made from a plain canvas tote bag that can be found in any craft or hobby store, sponge brushes, craft paints, and old newspapers for easy clean up. Children can create flowers using their tiny hand prints and by painting the center and flower stem. Details here.
Painted Paper Roses
Your child can create a bouquet that never dies by using old newspaper and painting them. Use pipe cleaners or craft wire for the stems and place in an inexpensive dollar store type vase. Colorful tissue paper could also be used to create the flowers. Detailed instructions here.
Pasta Necklace Craft
What mom doesn’t like receiving jewelry from her favorite little people? This is a slight spin on the classic macaroni necklace made with assorted dry pasta, food coloring, and few other items. Brighten mom’s day with a colorful new piece of jewelry to add to her collection. Detailed instructions and photos here.
Perfect Photo Bookmarks
Using a strip of photos taken at a local photo booth, keep the strip intact. Use card stock and miscellaneous other crafting or scrapbooking supplies to create a great bookmark for mom with photos on one side and a sweet sentiment on the opposite side. Be creative and make it special! Check out the link for further instructions.
