With Mardi Gras quickly approaching, it’s time to think about costumes, masks, and festive celebrations. It’s a time to feast and let loose before the days of Lent. With some handy craft supplies such as construction paper, crayons, markers, feathers, and other miscellaneous items in the colors purple, gold, and green, both kids and adults alike can create some great Mardi Gras crafts. Here we take a look at some fun ideas for Mardi Gras projects.
Mardi Gras Jester Hat
This is a fun hat for kids to make and wear for a Mardi Gras party or parade. All you need is sturdy paper (such as poster board thickness), purple and green construction paper, glue, tape, and a stapler. If you are unable to find poster board in the color gold, simply use some non-toxic craft paint to paint the paper for the headband and “bells” on the ends of the hat. Find detailed instructions here. This hat is easy to make and the kids will love the floppy jester style.
Mardi Gras Mask
These masks are a great craft idea for kids or adults. While the website suggests using a firm paper they refer to as “card”, soft foam craft sheets would actually be ideal for these masks. Choose the colors gold, purple, and green and make a basic mask cut out, or use a printable template available here. You will need whatever types of craft supplies you choose to decorate the masks, including crayons, markers, sequins, stickers, feathers, and glitter. Be creative and make your mask unique. Scissors, a hole punch, and some elastic for fastening the mask are also needed. These masks can be as simple or as detailed as you choose.
Mardi Gras Wreath Tutorial
This is a great step by step tutorial on how to create a beautiful Mardi Gras wreath that you can use to decorate your home year after year. This project will definitely involve a trip to the local craft store to purchase the needed supplies. Some items needed include a 24 inch emerald green pencil work wreath , deluxe Mardi Gras mesh, foil Mardi Gras mesh, sequin glitter mask (or similar fancy mask) ,and assorted embellishments. A blog post of this tutorial can also be found here, where a detailed craft supply list along with photos of the supplies can be found.
Hand Painted Mardi Gras Wine Glass Tutorial
This is a step by step tutorial for creating a festive Mardi Gras wine glass for your party guests. We will be using the heat method of curing the glass so that the paints will last longer and so that the finished product can be safely washed without ruining the painted design. Glasses can be taken home as a keepsake from your party, or saved to be used again next year. Glasses make a great additional to your Mardi Gras table setting and can also serve as part of the party decor.
To begin, gather all of your needed supplies. This would include a wine glass (tinted or clear) that has been hand washed in warm, soapy water and dried thoroughly. After drying, rub rubbing alcohol or vinegar over surface to be painted with a paper towel and allow to air dry before starting to paint.
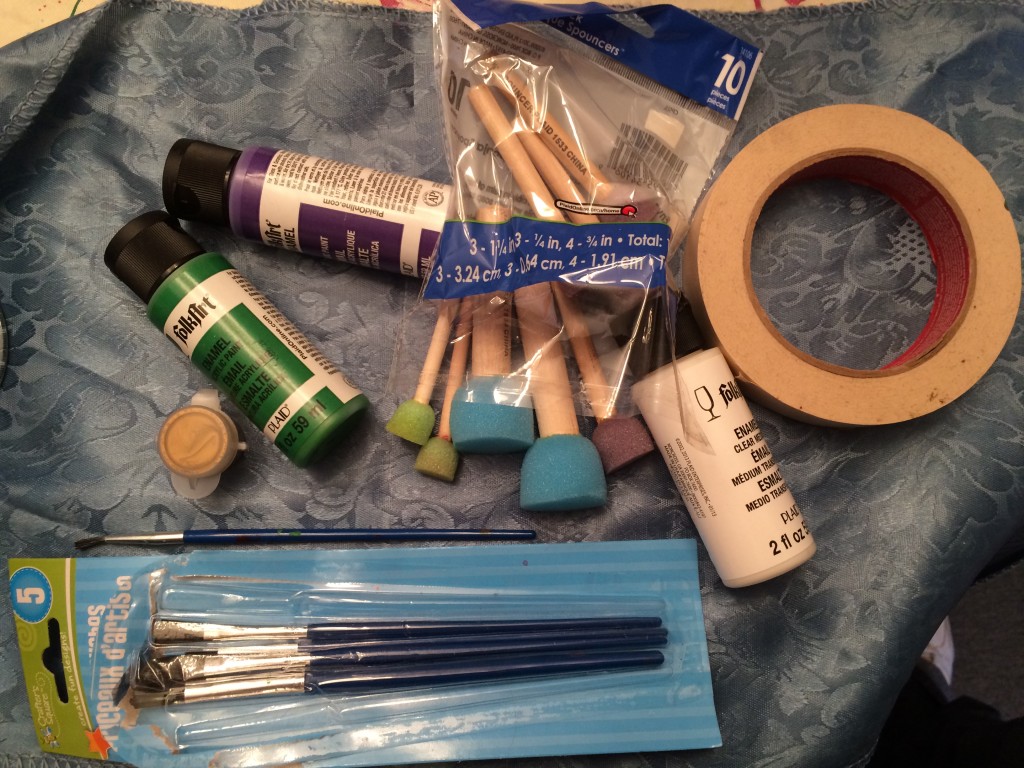
Supplies to use include Enamel paints (Use ONLY the water-based, NON-TOXIC varieties for this project) in green, purple, and metallic gold, paint brushes, masking tape, one Q-tip, and circular sponge spouncers in assorted sizes.
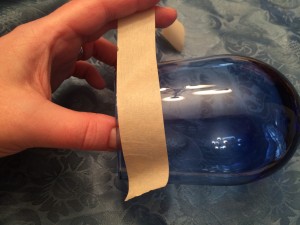
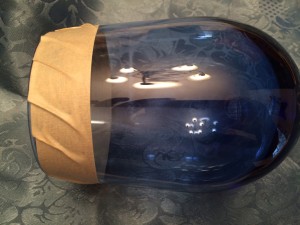
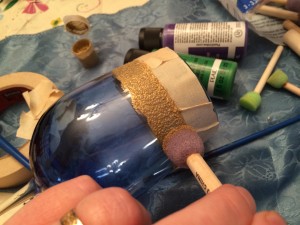
STEP ONE: Use masking tape to cover rim of glass. This leaves an unpainted area for safe drinking. (Even though paints are non-toxic, it’s best to leave a clear space so lips never come into contact with the paint.)
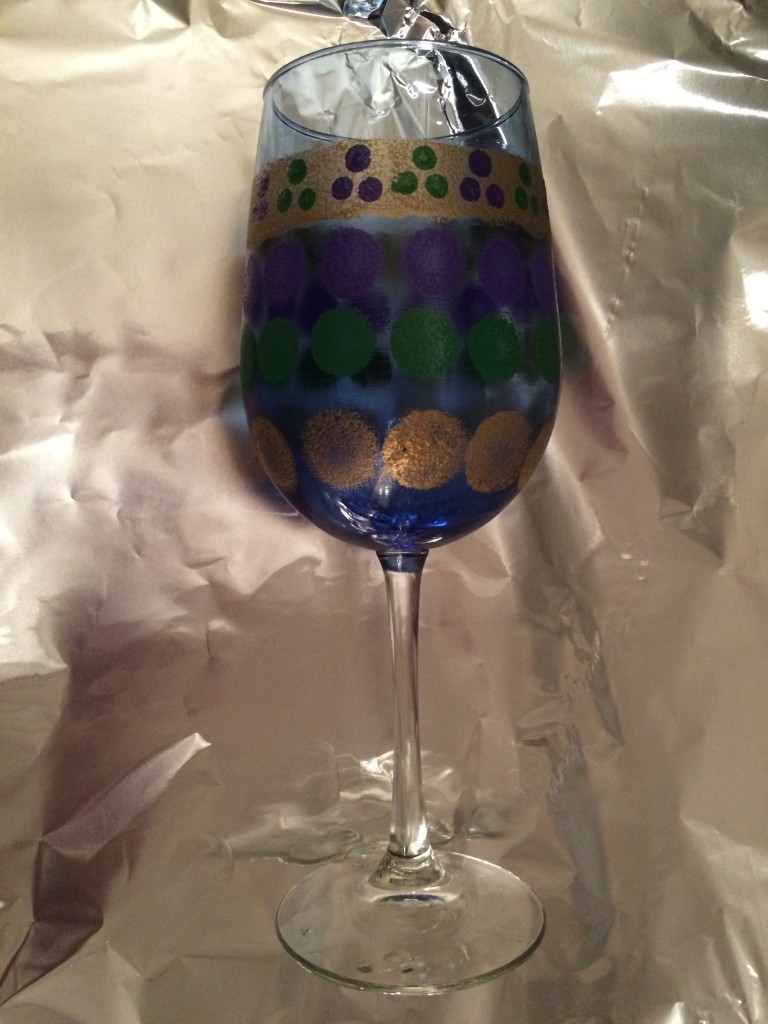
STEP TWO: Taking a fairly wide, flat paint brush and a metallic looking gold colored paint, paint a rim just under the masking tape. If your line is a little shaky, don’t worry about it. After completing the painted band, go over it with a spouncer to give it another coat, just dabbing the paint on the area which you have already painted.
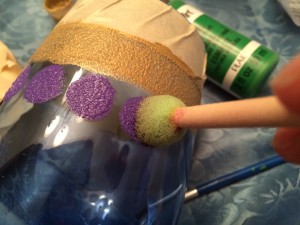
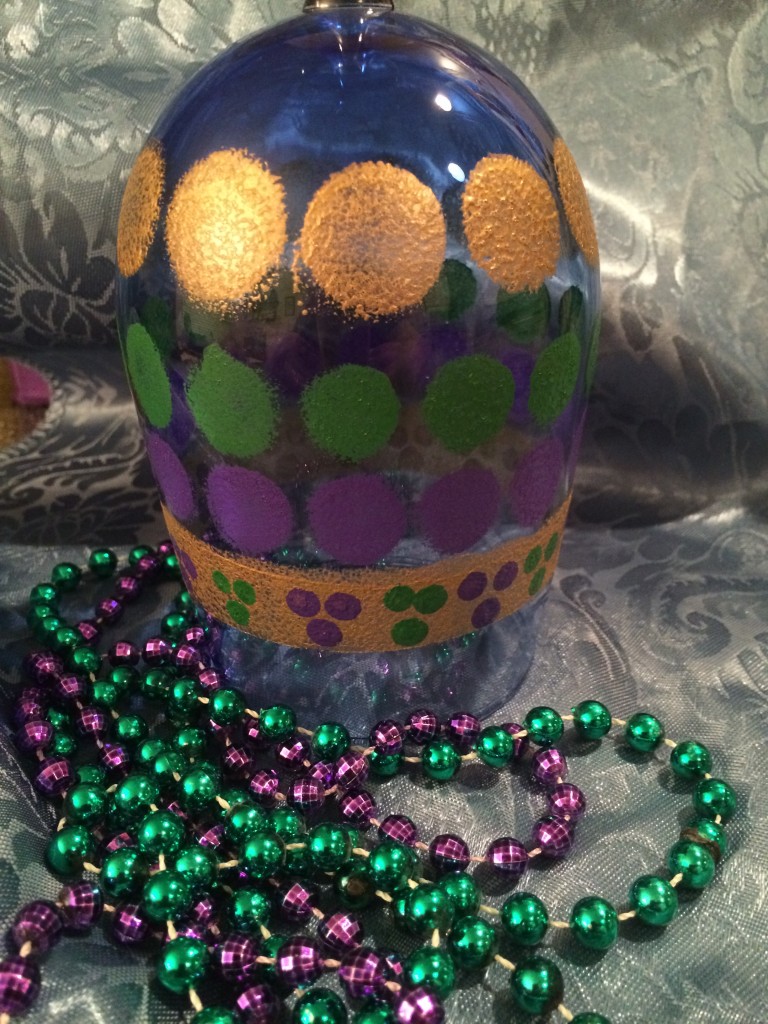
STEP THREE: Using your purple paint and a circular sponge spouncer about the diameter of a dime, make circles of purple all around the glass just under the golden band, leaving a small space in between them.
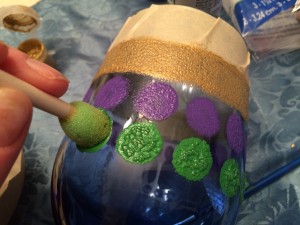
STEP FOUR: Repeat step three, instead using green paint, making the green circles directly under the purple ones, leaving a slight space between each circle.
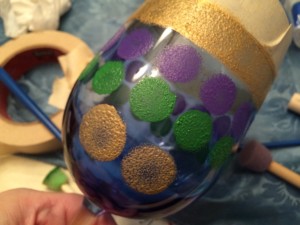
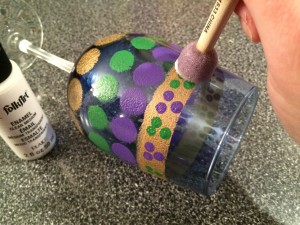
STEP FIVE: Using a larger sponge spouncer about the diameter of a nickel and metallic gold paint, make larger circles under the row of green circles, starting them in between two circles in the above row. Continue to dab on the paint until row is complete.
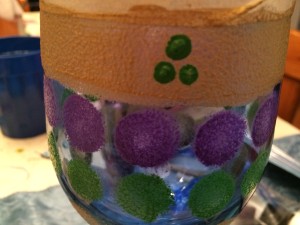
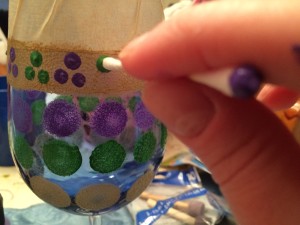
STEP SIX: Using a Q-tip, on golden top border, dip one end of Q-tip in green paint, the other end in purple. Begin dabbing on a series of three dots of each color,as shown in photo, to make a cute border design. Alternate colors all the way across the top of the glass.
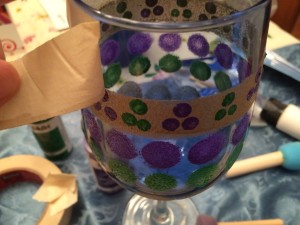
STEP SEVEN: Set glass aside and allow to air dry for a few hours. When dry, remove masking tape and you should have a clean line above the design.
STEP EIGHT: Using clear drying Enamel medium, spread a light coating over all painted surfaces with a paint brush or sponge spouncer. Allow to air dry for about an hour.
STEP NINE: Place foil on a cookie sheet and place dried wine glass on foil. Set oven to 350 degree Fahrenheit, but do NOT pre-heat. Place cookie sheet with glass in oven right after you turn it on and set a timer for twenty minutes. After twenty minutes, turn the oven OFF, but leave glass inside for an additional ten minutes, for a total of thirty minutes. This allows the glass to both heat and cool slowly to avoid breakage. After this time, remove glass from oven using caution, as it will be HOT! Set aside to cool.
FINISHED PRODUCT: You now have a great Mardi Gras wine glass that can be used for your guests at a party, and taken home as a memorable souvenir. Glass can be either hand washed or placed in the dishwasher on top rack only.
