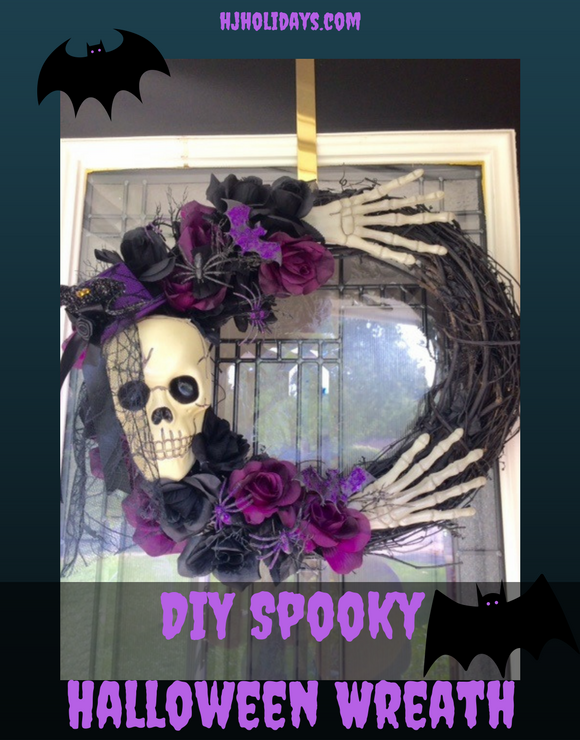
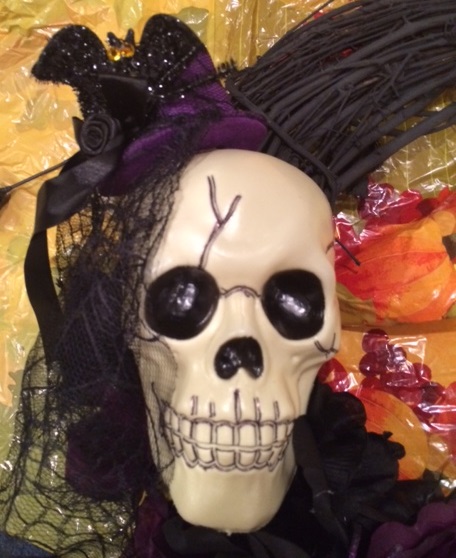
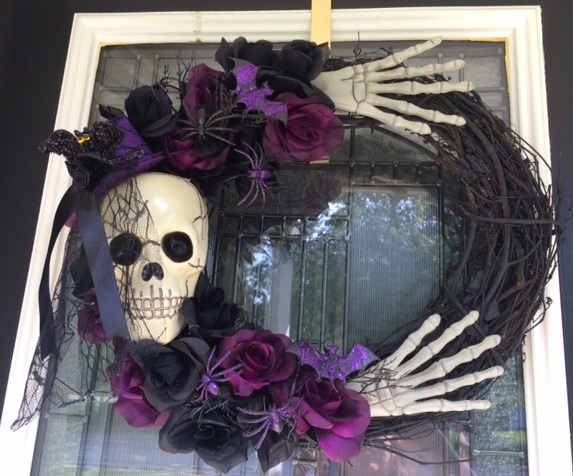
Here is a step-by-step tutorial to create a great DIY spooky Halloween wreath to delight friends, family and trick-or-treaters. It features a black spray-painted grapevine wreath base with a spooky skull with a cool Steampunk top hat surrounded by dark purple and black flowers with Halloween accents. Spooky skeleton hands stick out from each end of the flowers for a terrific Halloween look.
Step #1: Prepare the Base
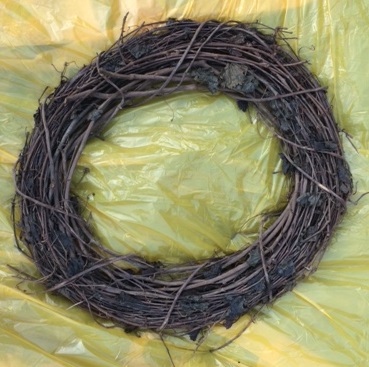
Take your grapevine wreath, black spray paint, and tarp, and head outdoors or to a well ventilated area. Take proper precautions when using spray paint, such as wearing a face mask and plastic gloves. Lay the tarp or newspapers down on the grass or area where you wish to paint. If wind is blowing, place something on each end to ensure the tarp doesn’t blow over onto the wreath while painting it.
Place wreath in center of tarp and shake can well. Begin spraying back and forth, covering as much of the grapevine as possible. Apply multiple coats, drying in between coats. When front side is finished, turn wreath over and repeat the painting process on the back.
When wreath is coated to your satisfaction, place somewhere where it is not touching any vulnerable surfaces to dry fully. (For my tarp, I used a cheap one dollar tablecloth that never worked right that I saved for some reason. After spray painting, I turned it over and folded it and used it as a work area for the remainder of the project. )
Step #2: Gather Supplies
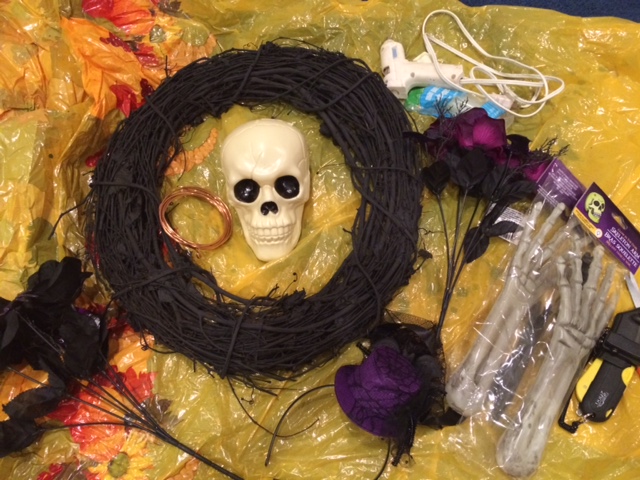
When grapevine wreath is fully painted and dried, begin gathering your other supplies for this project. For this project, you will need:
- Grapevine wreath
- Black spray paint
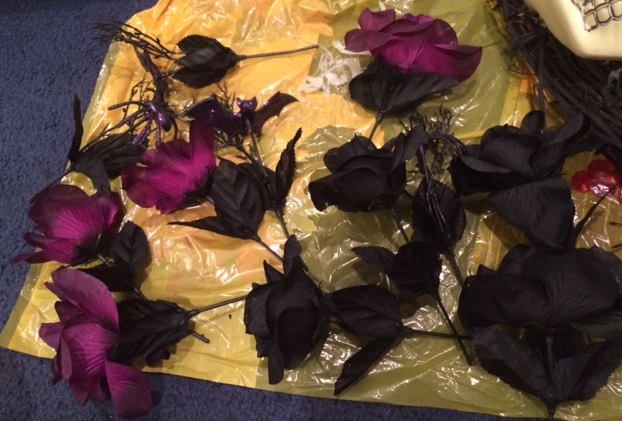
- 4 Small bouquets of black and/or dark purple flowers (2X shown in picture)
- Plastic skull
- Plastic skeletal hands
- Top hat
- Headband in coordinating colors
- Glue gun
- Glue sticks
- Box cutter or other craft knife
- Inexpensive tarp or newspaper sheets
Step #3: Fill in Grooves on Skull
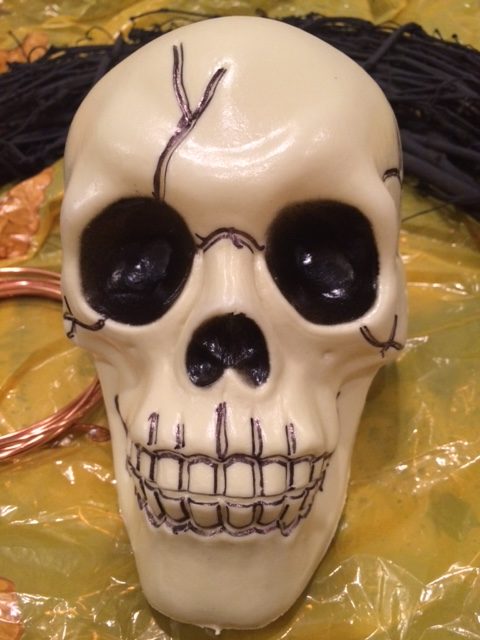
For an extra spooky look, take a black Sharpie marker and fill in the cracks and grooves in the skull. Trace around each tooth for added spookiness.
Step #4: Trim Back of Skull and Glue in Place
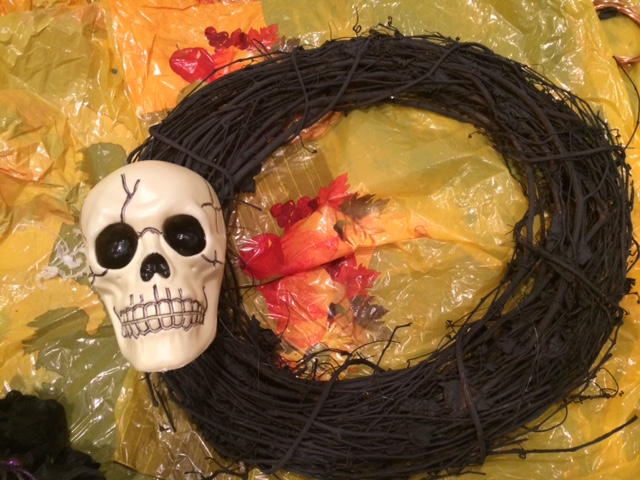
After several failed attempts with the skull as it was, I realized there was no way hot glue was going to hold a round head to the base of the flat wreath. So, I took a box cutter and trimmed away a baseball sized piece of the head in back so that it could lay flatter against the wreath base. I also made two notches so that they could fit in between the grapevines and give me a good foundation to glue to.
Place skull looking forward on the center left hand side of the wreath. Glue into place. After gluing skull all around trimmed base, I still felt it was a little wobbly, but I would fix that as I glued the flowers on around the skull. (Explained in Step #7)
Step #5: Cut and Glue Skeletal Hands
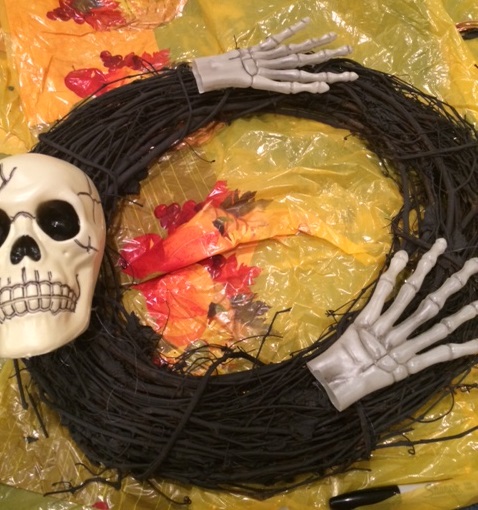
The only skeleton hands I could find were actually yard stakes made from thin plastic. I knew they could be easily cut to fit the size I needed, plus they were only one dollar each at Dollar Tree. I again used the box cutter to trim them to about an inch above the wrist. Trim both hands then place one several inches from the skull on the bottom, then one directly above it on the top of the wreath base. Make sure the thumbs are pointing in the correct direction for each hand.
Step #6: Trim the Flowers
If you have a floral wire cutter, definitely use it for this! Mine is currently missing in action, so I used scissors to trim the plastic area on the flowers and then bent the stem wire back and forth until it broke off. Trim each flower and leaves, leaving about 2.5 inches of wire stem hanging from flower base. The flowers I bought at Dollar Tree are super cute and one batch has purple spider accents with black sprigs, and the other bunch has purple bats with black sprigs, which looks amazing on the wreath.
Step #7: Place and Glue the Flowers
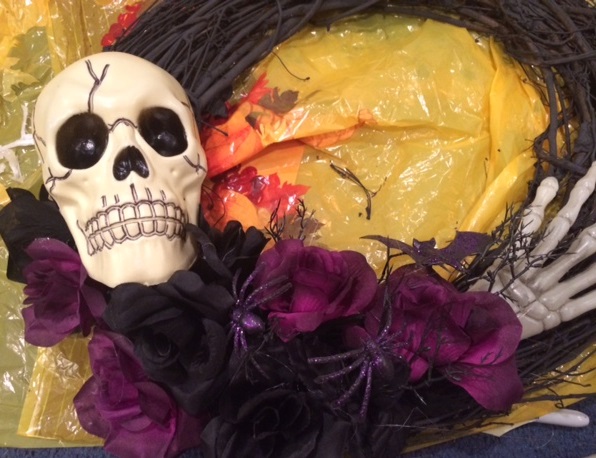
Work on the bottom section first, placing flowers where you like them. Take care to mix up the purple and black if using those colors, and place the spider and bat accents intermittently. After satisfied with the placement, glue the flowers into place.
Take care to cover the cut section of the hand with some of the flowers, and secure the skull better by gluing a flower petal to the side of the skull here and there and then gluing the flower to the wreath base. This made the skull very secure and prevented it from wobbling.
Step #8: Attach the Top Hat
Now that the bottom row is complete, attach the hat to the skull. My hat was part of a headband, so I simply gently unglued it from the plastic headband and slid it off. Save the headband for someone to wear, or for another craft project. Glue the top hat on sideways or in a manner that best showcases it.
Step #9: Glue Final Accents
When originally buying the flowers for this project, I thought I had plenty. As it turned out, I had only half of what I needed and had to make a return trip to the store. Arrange and glue flowers and accents as in step seven, making sure to attach a flower petal to the other hand and here and there to the skull for extra stability.
You Did It!
You have now made a do it yourself spooky Halloween wreath that will last for years and years. Hang on your front door for Halloween, or place on a mantel for a great Halloween decoration and conversation piece.
2016 Pinterest Party Fall Blog Hop
This post is part of the Pinterest Party 2016 Fall Blog Hop. The Pinterest Party is a group that helps people grow their Pinterest following. Find other posts in this blog hop below:
Oct 1 How to Create a Halloween Wreath Holly Jolly Holidays (you are here!!)
Oct 2 Easy Fall Cake Decorating Ideas Easy Cake Decorating Ideas
Oct 3 Ideas For Hosting A S’mores And Bonfire Backyard Party Glitter ‘N’ Spice
Oct 4 BirdWatching: 5 Useful Tips to Make it Great Grammie Knows How
Oct 5 Fairy or Gnome Garden in a Pumpkin Little Blog in the Country
Oct 6 Autumn Color Birthstones: Beautiful Red, Orange and Brown Birthstones Celebrate Fall Birthstone Magic
Oct 7 Halloween Decor & Lighting Miss Frugal Fancy Pants
Oct 8 STAY ON TRACK THIS HALLOWEEN! Fit for God
Oct 9 Pumpkin Chocolate Chip Bars Southern Family Fun
Oct 10 Autumn Placemats Free Crochet Pattern Olives & Okra
Oct 11 Inspired by Autumn: Art Journal Backgrounds with Gelli Prints Determined to Shine
