A patriotic wreath is a fun craft project to make, and the finished wreath is a great way to display your love of the red, white, and blue. If you want to show your American pride, hanging or displaying a patriotic wreath on your door, or inside or outside your home, is a great way to do so. Many craft and hobby stores will carry a limited number of patriotic themed items year round, but shopping for them around the end of May through the Fourth of July is the best time to find the widest variety of patriotic craft items available. Display your wreath for the Fourth of July, Memorial Day, or Veteran’s Day. The wreath could also be made to place on a loved ones grave who served in the military. No matter how you display it, it will stand out as a decorative symbol representing the freedom we have here in the United States of America. Here is one idea for creating a patriotic wreath, including step by step instructions, complete with photos.
Patriotic Wreath Craft Tutorial by Christy McCarl
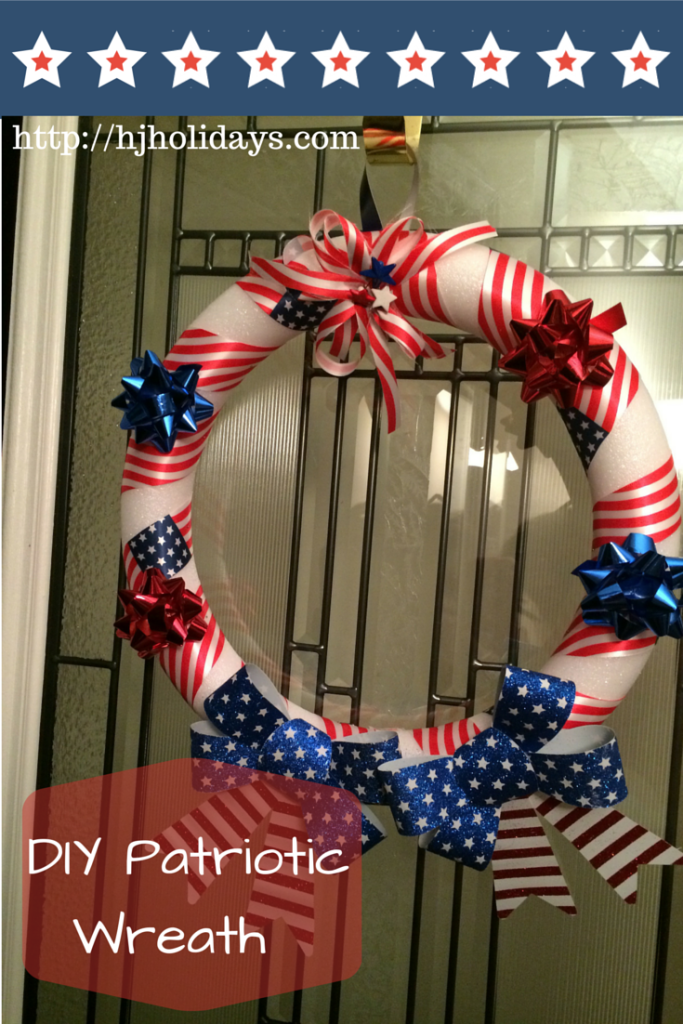
This festive wreath is made from a Styrofoam wreath base, decorative ribbon, and other red, white, and blue odds and ends from the dollar stores and WalMart craft department.
1) Gather Your Needed Supplies
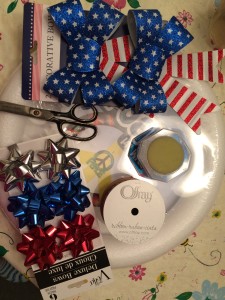
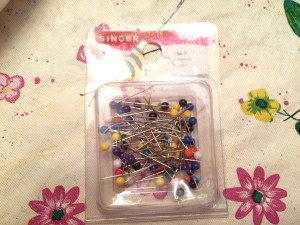
For this project, you will need a foam wreath base (I used a 14 inch), spool of craft ribbon around 1 1/2 inches wide, straight pins, heavier duty straight pins with colored plastic balls on tips, two patriotic bows, two red wrapping papers bows (smaller sized), and two blue wrapping paper bows (smaller sized), and three red, white, and blue buttons of some kind (can be solid color or combination of any or all colors). You will also need scissors and perhaps a thimble if you find pushing the pins into the wreath base difficult.


2) Unwrap Wreath Base and Ribbon and Begin Pinning Around Base
Remove the plastic wrap from the wreath base and take off protective plastic from spool of ribbon. Decide where the bottom or top of the wreath will be, preferably on a seam where the wreath was joined together. Choose a side to be the “back” of the wreath, and place the ribbon over the seam area and secure with a straight pin on each end. Start wrapping ribbon at an angle, leaving about a one inch space between each lap around. Once you have one or two wraps done, make sure the ribbon is smooth and even, then pin with two straight pins to secure, one on each end. Continue this process until you have wrapped the entire wreath (leaving the white spaces in between) and have reached your starting point. Cut the ribbon near the back of the wreath where you began, and secure with pins. Now, go back and pin each section of ribbon with one straight pin in the middle on the inside of the wreath. Everything should look secure and even before you proceed. If not, remove pins as needed to make adjustments, then re-pin.
STEP TWOSTEP TWO (A)STEP TWO (B)STEP TWO (C)STEP TWO (D)STEP TWO (E)
3) Add Red, White, and Blue Large Bows
I found this package of two patriotic bows at Dollar Tree. These should be added to the bottom of the wreath, where you first started and also ended the wrapping of the ribbon spool. Arrange them so they are next to each other at a slight angle, each leaning slightly in the opposite direction of the other. For these, it was when I discovered my regular straight pins would just bend and weren’t strong enough to push through the plastic type material which these are made from that I realized I also needed sturdier straight pins. If you’re using fabric bows, it shouldn’t be an issue, but if you have the same ones pictured, use stronger pins with plastic balls on the tips to allow you to push them in. (Just so they would blend in, I chose pins with tips that were red, white, or blue.) Insert pins underneath the middle section of the blue part of the bow, so as not to squash or flatten it. Insert a pin on each side to secure it, then one in the center on the top part, preventing bows from tilting downward. If you wanted a simple patriotic wreath, you could actually be done now because it looks quite nice, but I wanted to do more with it.
STEP THREESTEP THREE (A)STEP THREE (B)STEP THREE (C)STEP THREE (D)
4) Add Red, White, and Blue Small Wrapping Paper Bows
Again, from Dollar Tree in the party section, I found a set of red, blue, and silver bows in a smaller than average size. (You won’t use the silver ones, so save them for another craft or for present wrapping.) Place them across from each other using opposite colors. After placement of the large bows you added in step three, you should see there is a white space just above each bow, then ribbon, then white space. You will want to place these smaller bows on the second white space, between two sections of ribbon. Uncover the sticky backings of the bows and place where desired, pinning once into the foam wreath base for stability. Then place the opposite color bows on the second white space above the first two. Stick on then secure with a straight pin.
STEP FOURSTEP FOUR (A)STEP FOUR (B)
5) Make Accent for Top of Wreath using Leftover Ribbon from Spool
Using the leftover ribbon from the spool, cut ribbon lengthwise into three separate strips. Using photos as a reference, make them into little bow-like shapes, keeping the printed sides showing on all sections, and secure with pins in the middle. Place in the middle at the top of the wreath. As you make the other two, place them to fill in areas with no ribbon, so that when finished, you’ll see a total of six strips and six loops in a circular shape. When I was making this, I discovered three star shaped buttons in red, white, and blue that I had leftover from another patriotic craft, and used those in the center of this little accent to hide the pins that were visible. The buttons I used had distinct half circle backs in them where you would sew them onto a garment, so I used one of the sturdier pins with the plastic ball tips and went at them at an angle to secure them to the foam base. You could also use a glue gun to secure them.
STEP FIVESTEP FIVE (A)STEP FIVE (B)STEP FIVE (C)STEP FIVE (D)STEP FIVE (E)STEP FIVE (F)
6) Add a Simple Hanger
If you wish to hang the wreath, you’ll need to add a simple hanger to the back side of the top. To make mine, I simply cut a strip of the sturdy card stock backing that the two larger bows came attached to. I cut it lengthwise and brought the ends together and pinned it into place on the wreath base with two straight pins.