Using Vintaj Natural Brass Components
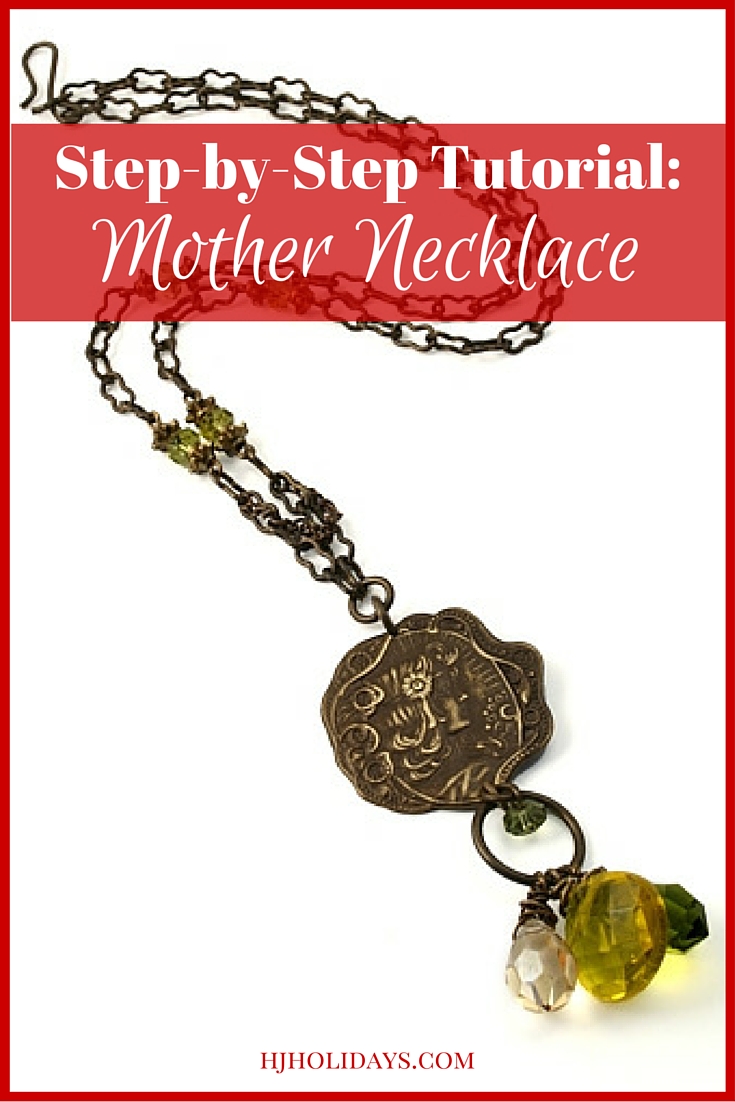
This is a project that I teach in my classes at Lake Erie Artists Gallery in Cleveland, Ohio. This necklace is made with natural brass elements from Vintaj Natural Brass Company, and glass beads. The project is a very simple one that can be made several different ways, to create a beautiful necklace for yourself or a gift.
Creating a Beautiful Mother’s Day Necklace or Gift for Any Occasion with Vintaj Natural Brass Components
Follow the steps in the tutorial below.
Step 1: Assemble Your Tools
To make the Mother Necklace, you only need three basic jewelry making tools. These are a chain nose (flat nose) pliers, a cutter, preferably a flush nose cutter, and a round nose pliers. These are not the same tools you would buy at a hardware store. You do need to have tools that are designed for making jewelry. The tools shown below are made by Beadsmith for Vintaj, and are very reasonably priced.
Tools for this Project
Vintaj Special Edition – Ergonomic Round Nose Pliers With Cutter Vintaj Special Edition – Ergonomic Chain Nose Pliers With Cutter
 Vintaj Flush Cutter, 5 Inch – V-PLHT41
&
Step 2: Assemble Your Supplies
The Mother Necklace has a short list of supplies that you will need:
- 3 sizes of jump rings listed below
- a brass medallion
- a brass cable or fine link chain (about 18 inches)
- assorted beads
- brass wire 22 awg
- brass head pins
Supplies Needed for this Project
Vintaj Natural Brass Jump Rings 4.75mm Open 19 Gauge (25) Vintaj Natural Brass Jump Rings 7.25mm Open 16 Gauge (20)
 Vintaj Natural Brass Open Jump Rings 15mm Heavy 15 Gauge (10)
 Vintaj Natural Brass 3.5 x 4mm Cable Chain – Bulk By The Foot
 Vintaj Natural Brass Head Pins 21 Gauge 2 Inch (20)
 Beadsmith 22 Gauge Antique Vintage Bronze Brass Color Copper Craft Wire, 15 yd
 Vintaj 2-Piece Diamond Filigree for Connecting Jewelry, 15 by 21mm
 2 Vintaj Natural Brass Elegant Chandelier Pendant Drops
 Vintaj Natural Brass Art Nouveau Daisy Maiden Pendant 30mm (1)
 eCrafty’s Everything But the Kitchen Sink! ONLY LAMPWORK Glass Beads Mix 1/2 Lb
&
Step 3: Attach Jump Rings to Medallion
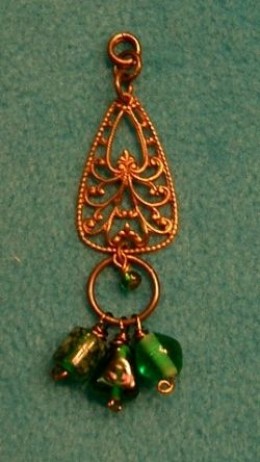
Attach the jump rings as shown to the medallion. The top of the medallion has two single medium sized jump rings linked together, then two jump rings linked side by side to the second ring (middle). The chain will string through the double rings.
Beneath the medallion, the tiny jump ring links to the large jump ring. The small drop hangs from the tiny ring as well. (Shown in the next picture.)
Step 4: Attach Small Drop
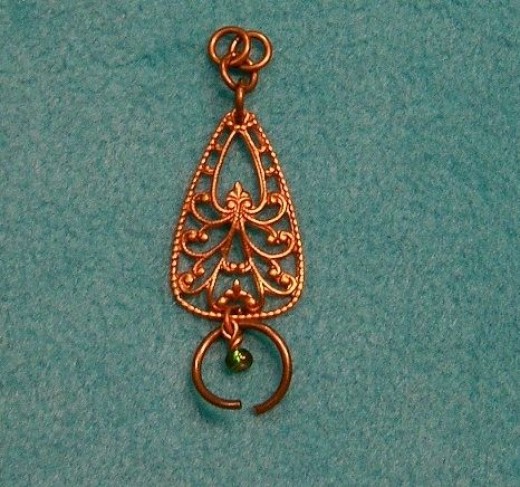
The next step is to attach the small drop to the small jump ring which also holds the large jump ring. The bead used here needs to be small enough to fit inside the large ring.
Step 5: Attach Large Dangles to Large Jump Ring
Create 3 dangles using larger beads to hang from the bottom of the large jump ring. This is the bottom of the necklace so the beads can be any size. You can either use head pins or wire to make these dangles.
Step 6: Cut Chain
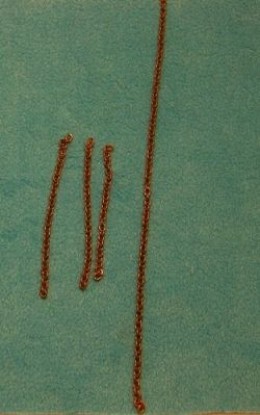
To assemble the chain, start by cutting the piece of chain in half, then cut one half into three pieces. The long piece will be the top part of the chain when completed.
Step 7: Attach Wire to Ends of Chain
There are 4 places where the beads will connect the pieces of chain together. Therefore, cut 4 pieces of the craft wire to about 2 to 3 inches long, then attach them to the wire where the beads will connect. Here is a picture of one section of chain with the wire attached. The next step will be putting the beads on, and connecting the other end of the wire to the connecting piece of chain.
The long piece of chain is the top section, then short pieces for the two sides, and bottom.
Step 8: Add Beads to Chain
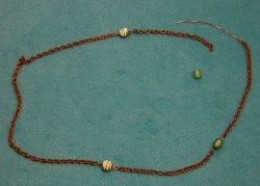
This chain does not have a clasp, so you need to leave one section open where it will slide through the rings at the bottom. Once you slide it through, you can connect the bottom of the chain. If you want, you can add a clasp, anywhere you want on the chain. See below for suggested clasps.
Step 9: Complete Your Necklace
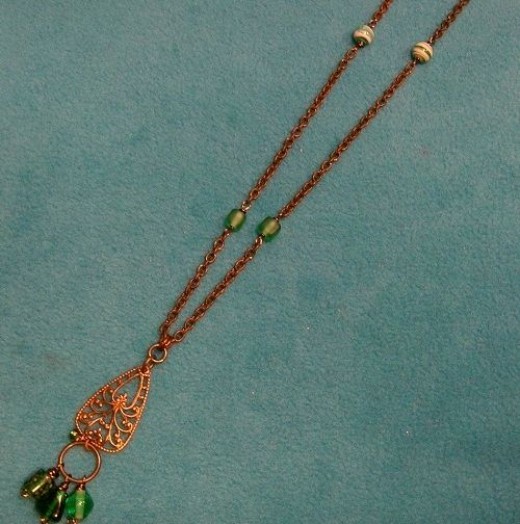
Here is the completed Mother Necklace using the components shown in the supplies picture. Notice that the medallion is different than the one in the introduction picture.
For variations of this necklace, you can change the beads, chain, or medallion to get different looks and styles.
