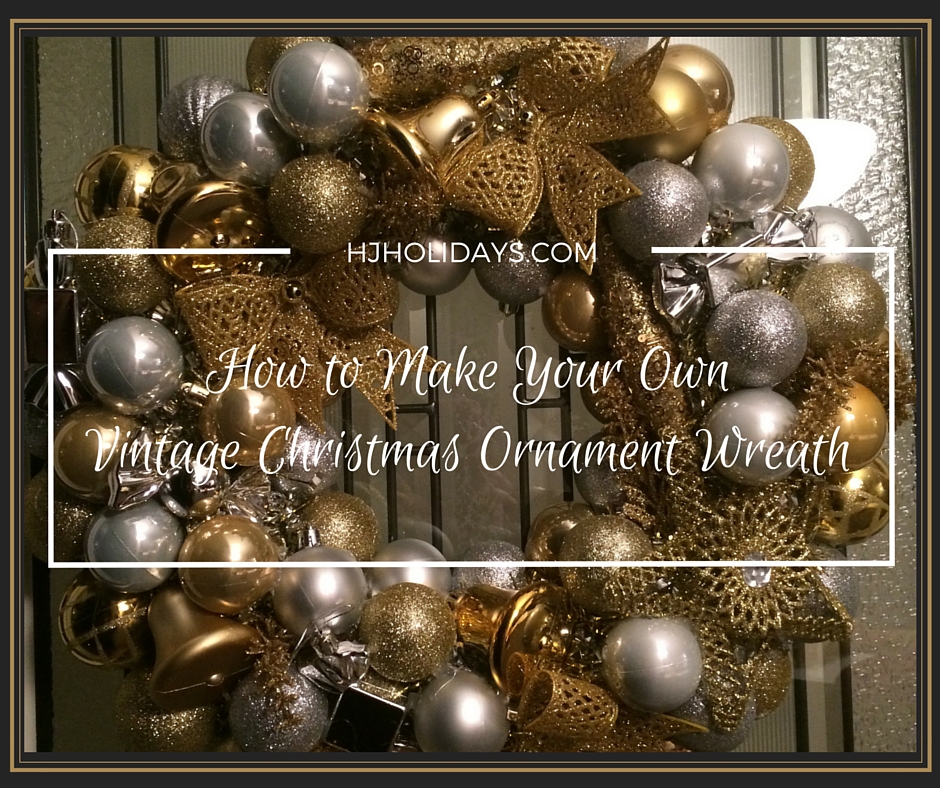
To make a lovely vintage Christmas ornament wreath, you will need a wreath base, a large amount of various sized ball shaped ornaments, and your choice of vintage style ornaments to add in among the ball ornaments. You can either use actual vintage ornaments, perhaps comprised of a collection of old family heirlooms, but keep in mind that you will need to hot glue these. If you’d rather not risk damaging the vintage ornaments, you can also choose to buy new ornaments that have a vintage look and feel. Dollar Tree and other similar dollar type stores are a great place to look for your supplies, as you can buy a lot of ornaments for little money and truly make something that looks spectacular.
When making the wreath, the possibilities are only limited to your imagination. You could choose a variety of shiny and non shiny ornaments, or choose a particular color scheme to match the rest of your holiday decor. Perhaps you want to go with a particular theme that represents what the holidays mean to you. Making the wreath is actually a very simple process, but the end result looks stunning.
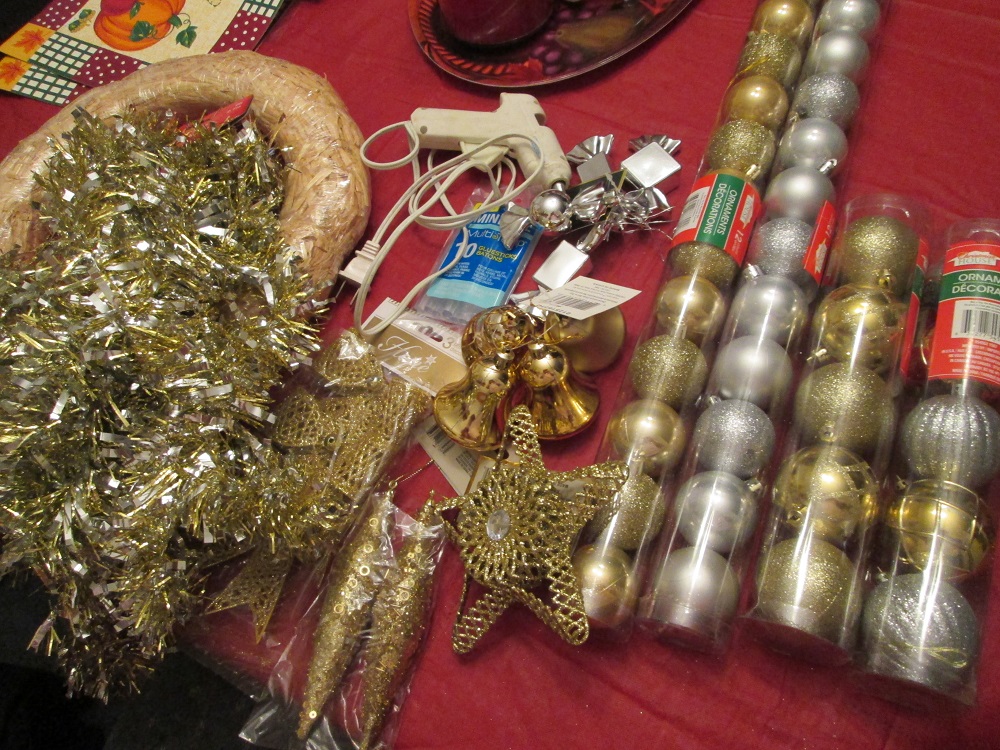
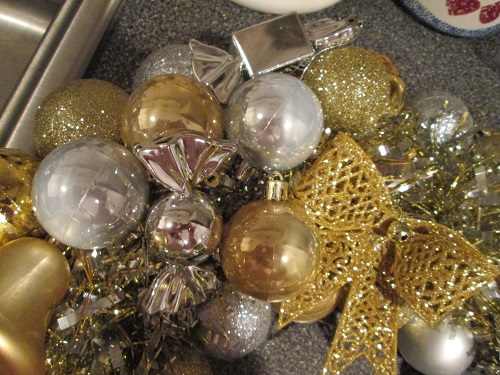
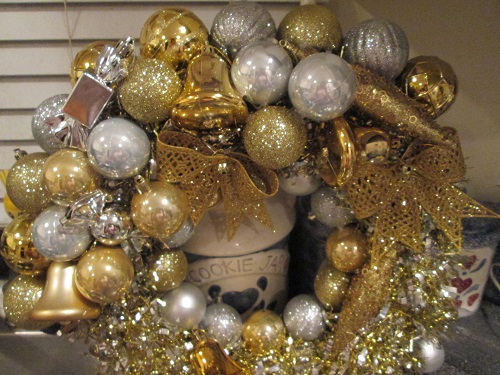
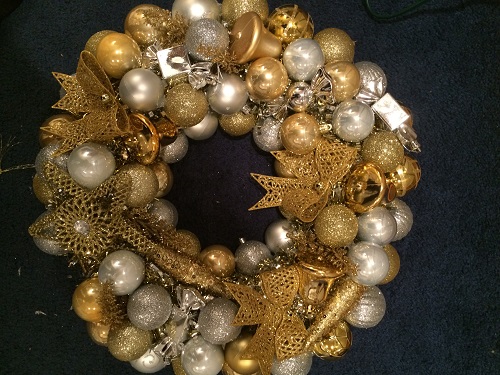
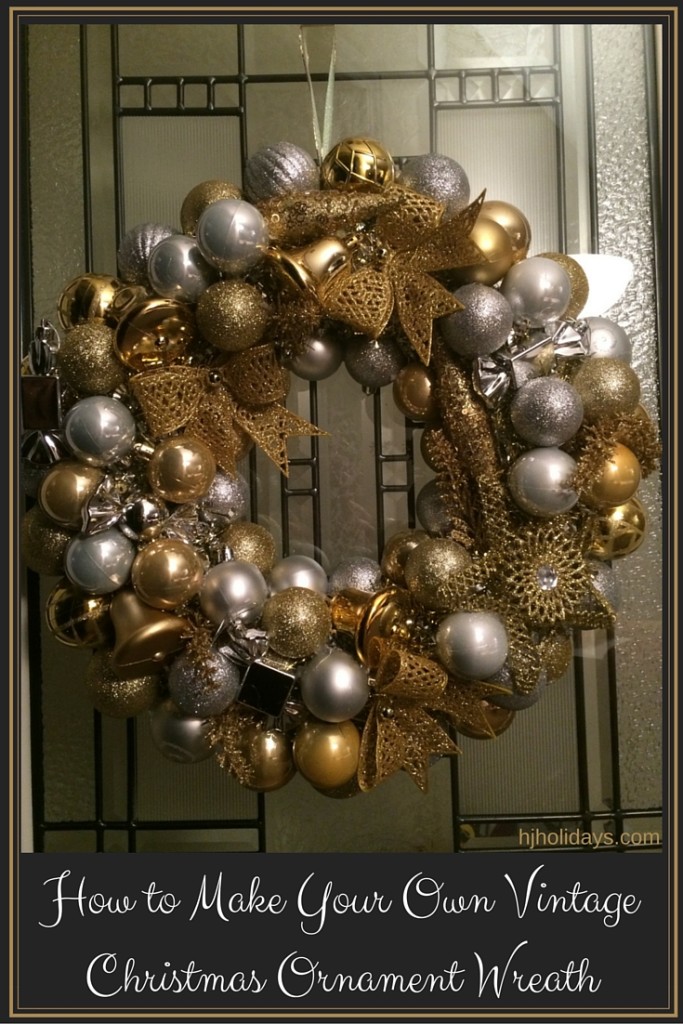
For my personal vintage Christmas ornament wreath, I chose to use a classic silver and gold color scheme, with all of my ball ornaments and accent ornaments being one of those two colors. I used a large 14 to 15 inch straw wreath base because I already had one in my craft supplies, but a foam wreath base may also be used. In total, I used two 9ft, garlands in a mixed gold and silver color, 23 larger ball ornaments, 36 smaller ball ornaments, a package of four gold bells, four gold vintage looking bows, four “foil wrapped candy” ornaments in assorted rectangular, square, and circle, shapes, two pinecone shaped ornaments, and one large vintage style star. I also used gold colored floral sprigs to fill in the spaces that looked like they needed something but were too small for a smaller sized ornament.
Follow these simple step by step instructions to create your own vintage Christmas ornament wreath.
1. Gather Your Supplies
- 1 wreath base (larger sized, around 15 inches, either straw or foam)
- 2 strings of garland, 9ft each
- 2 dozen or more larger ball ornaments
- 3 dozen or more smaller ball ornaments
- *You may also wish to use very small ornaments to fill in the smaller spaces.
- Packages of vintage style ornaments to add to the ball ornaments. (I chose bows, candies, bells, pine cones, and a star. You can be creative and choose whatever you like that fits in with a vintage theme.)
- Small floral sprigs or leaves to fill in blank spaces.
- Hot glue gun and glue sticks
- Small piece of wired craft ribbon (approximately 18 inches long) in coordinating color to make hanger
2. Wrapping the Wreath Base
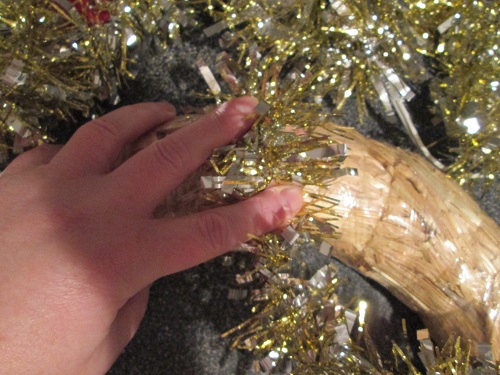
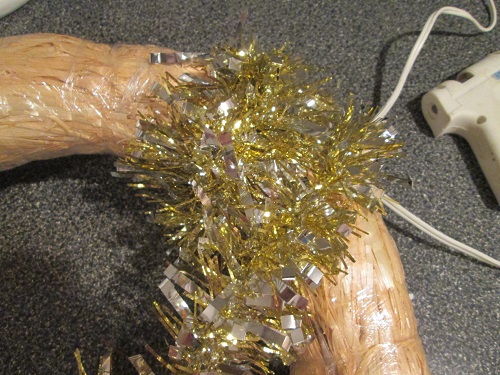
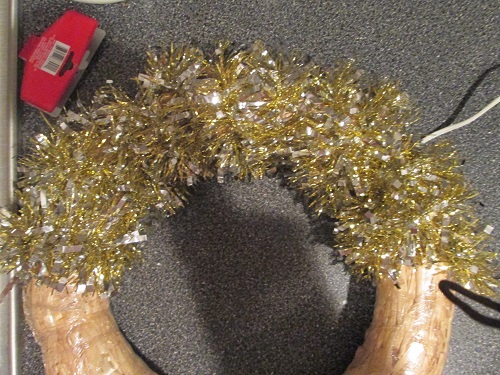
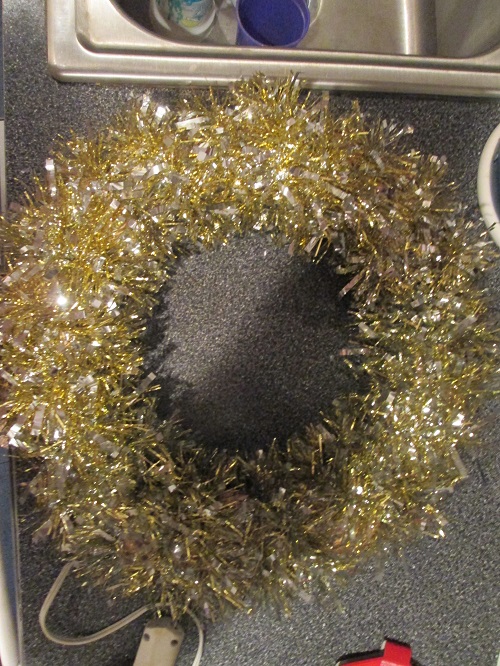
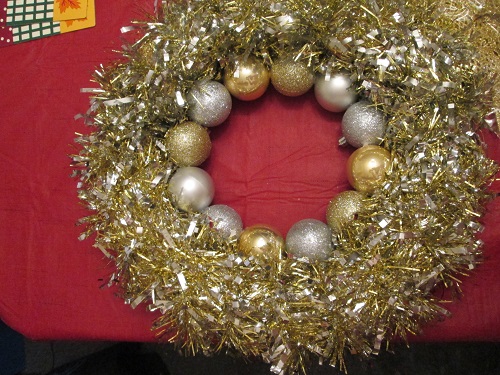
For this step, I purchased two strings of gold and silver garland, each nine feet long. It took both of the garlands to wrap completely around the wreath. Be careful of the spacing, there is no need to overlap or place each wrapping too close to the other, as you will likely need every inch of both garlands for a 14 to 15 inch wreath base. Glue the end of one garland to what will be the back of the wreath. Begin wrapping around and round through the center hole and repeat the process until the entire wreath is wrapped.
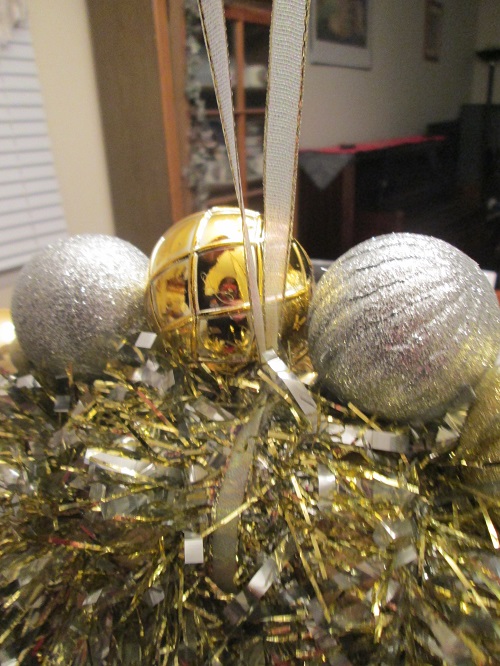
You will notice in the photos that I neglected to think to tie a hanger on until later, which was much harder because I had to work it through all of the placed and glued ornaments. MAKE SURE TO TIE A PIECE OF WIRED DECORATIVE RIBBON IN A COORDINATING COLOR TO THE BACK OF THE WREATH AT THIS TIME, BEFORE ADDING ORNAMENTS. Tie the ribbon around the wreath and secure it with at least two tight knots, then tie the top two or three times to make sure it is secure and will hold the weight of the wreath when hanging.
3. Placing the Inner Circle of Ornaments
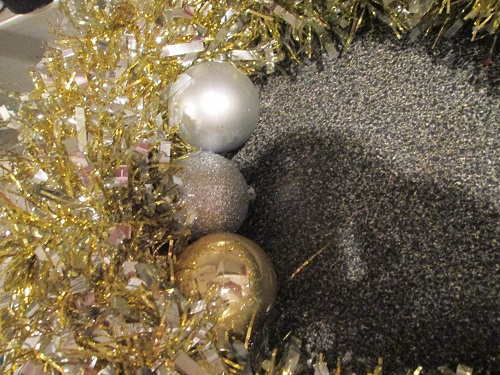
Place the wreath on a flat surface and figure out the placement of your ornaments. For this step, I used the smaller sized ball ornaments. It took me 12 small ornaments to do the inner circle. Nestle them into the circle while the wreath lies flat to ensure that when hung they will lie flat against your door or wall and not extend beyond the back of the wreath base. To make sure the wreath is symmetrical, use the same size ornaments throughout this step.
4. Placing the Outside Ring of Ornaments
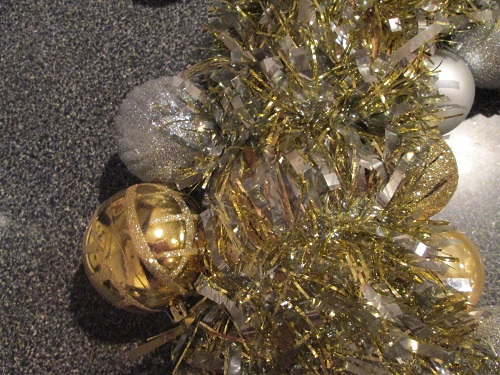
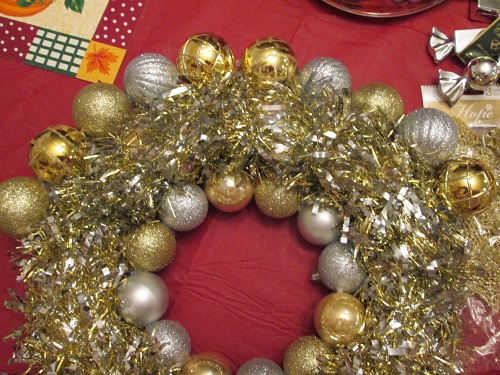
With the wreath lying flat, start placing and gluing larger ornaments around the outside of the wreath. Don’t place them all the way back or else the wreath will not lie correctly against a flat surface when hung. Try to glue right in the middle of the side of the wreath base and keep things uniform throughout the gluing process. Continue all the way around the wreath base until the entire outside ring is completed. (Note: While working on this project, I ran out of ornaments and went on to the next step on the sections that had both the inner circle and outer ring completed. Ideally, finish the entire circle first before attempting to fill in the center areas.) To complete the outer ring, I used 23 larger ball ornaments. You may use more or less depending upon the size of your wreath base and ornaments. To keep the symmetry, use the same sized ornament throughout this step.
5. Filling in the Center
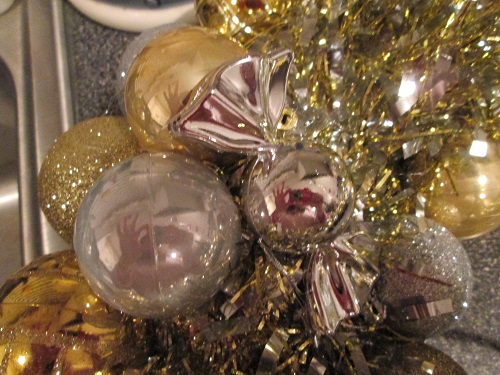
This is one of the most creative parts when making a vintage Christmas ornament wreath. For this part of the wreath, you can use the smaller ornaments, perhaps mixed with some larger, or even smaller sizes used in the inner circle and outer ring of the wreath. This is where you can also incorporate other styles of ornaments, perhaps even a Santa figure or an Elf on the Shelf. I opted for glittery gold bows, gold bells, golden sparkly pinecone ornaments, and silver “foil wrapped” candies. These were all items that made me think of a vintage style, old fashioned Christmas. Just play with the ornaments and experiment before gluing. Once you get started you’ll find that the ornaments, no matter what shape, will practically place themselves. Figure out clever ways to fill your wreath with interesting placement. Always glue each new ornament to the others it is touching for added stability.
6. Finishing Touches
After you have proceeded to fill in the entire wreath, you should have something pretty amazing happening. Since all ornaments are not going to fit perfectly, this is the time to go back and look for any gaps or open spaces that look like they need something. Fill in those spots with sprigs of floral pieces in a matching or coordinating color. Tiny ornaments may also be used for this purpose.
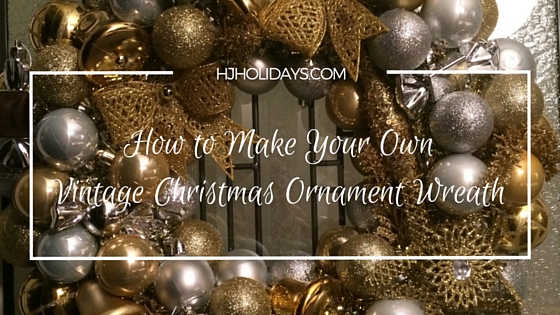
Finished Vintage Christmas Ornament Wreath
You now have a beautiful vintage Christmas ornament wreath that you can proudly display on a door or wall.
